RobotDNN
 Repository created: 2017-04-26T12:53:32Z Update: 2017-12-02T21:16:00Z Push:2017-04-29T09:18:42Z
★3⚑C++☋ 1
First approach to neural networks for robots
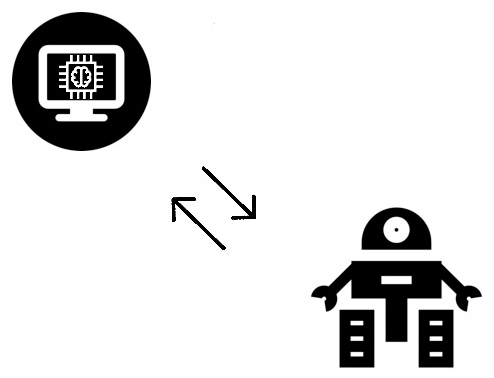
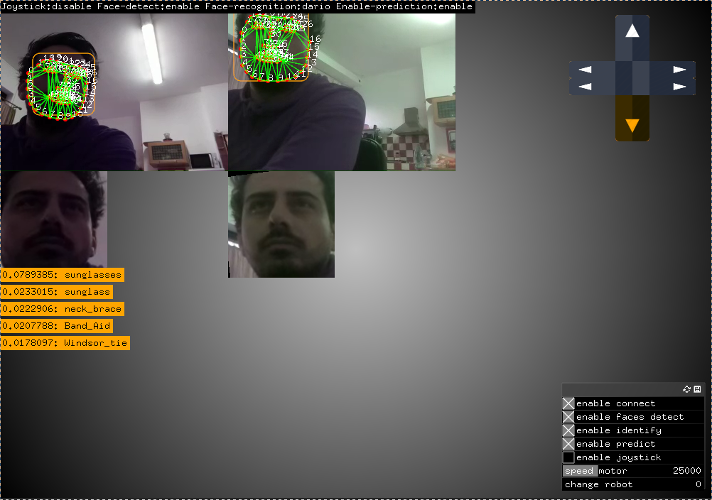
This guide shows how to build a robot with Raspberry Pi zero or a board H3 Allwinner with the addition of some sensors using openFrameworks, dlib and ofxGPIO as a development environment, to build a robot and software for remote control and showing a first approach to face recognition and imagenet predict with machine learning DLIB and openFrameworks
The programming of the robot is very simple, all transactions will be done on the remote PC that deals with controlling the robot via TCP protocol, the only operations carried out by the robot are:
open a two-way socket for control of the motors and the receipt of sensor data as MPU or compass
open a second socket that deals with the streaming video webcam.
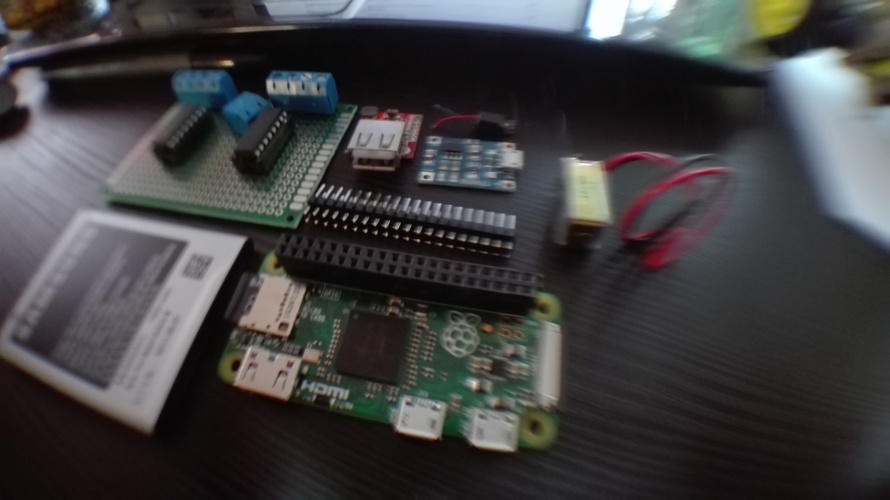
The basic components for this project:
- PC or PC Portable (with a good video card)
- Raspberrypi zero or orangepi one H3
- Dongle Wifi
- Motore Stepper bipolar NEMA-14
- sn754410ne H-Bridge
- MPU6050 or HMC5883L (only compass)
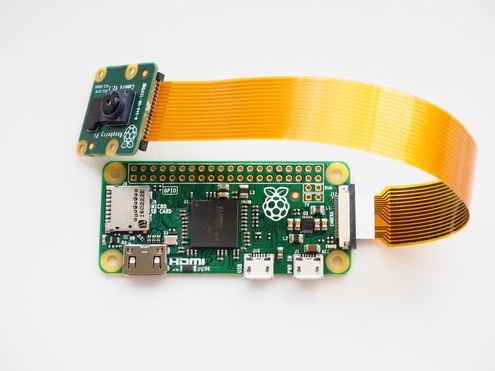
- Camera module with cable raspberry pi zero or (USB OTG webcam)
- Pair of wheels Pololu 70mm
- Battery Samsung EB-L1G6LLU 2100 mAh
- 5V Mini USB 1A Lithium Battery Charging
- DC-DC 3V to 5V 1A Module Boost Converter
- Metal brackets (Angled and straight)
- GPS breakout v3 Adafruit
- OLED display 128x64
Operating system use:
C++ environment use:
We proceed with the construction of the robot, the first step is to build the skeleton that supports our engines. (Here you can unleash your fantasy)
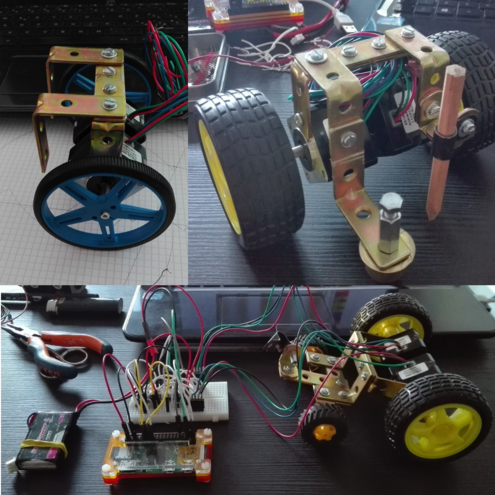
we continue with the wiring motors and sensor and display OLED for raspberry pi zero, scheme:
 (Separate cabling schemes are thus simpler)
then add the camera module for raspberry
Once completed the build your robot, proceed with writing in SD card of OS debian lite for raspberry and installing openframeworks.
Here are the links to complete the installation for raspberry:
install debian on SD cardinstall openframeworks for ARM6
and here for H3 Allwinner orangepi one:
install debian on SD cardinstall openframeworks for ARM7
After installing debian and openframeworks we go into ssh on our raspberry and prepare openframeworks to compile the program to control our robot.
Download this addons: ofxGPIO is put in: raspberrypi/openframeworks/addons/
Now we download RobotDNN that contains the firmware for the robot running on our raspberry and the control program we run on our PC.
The folder robots that you find in RobotDNN should be placed on our robot in the folder: raspberrypi/openframeworks/apps/myApps/
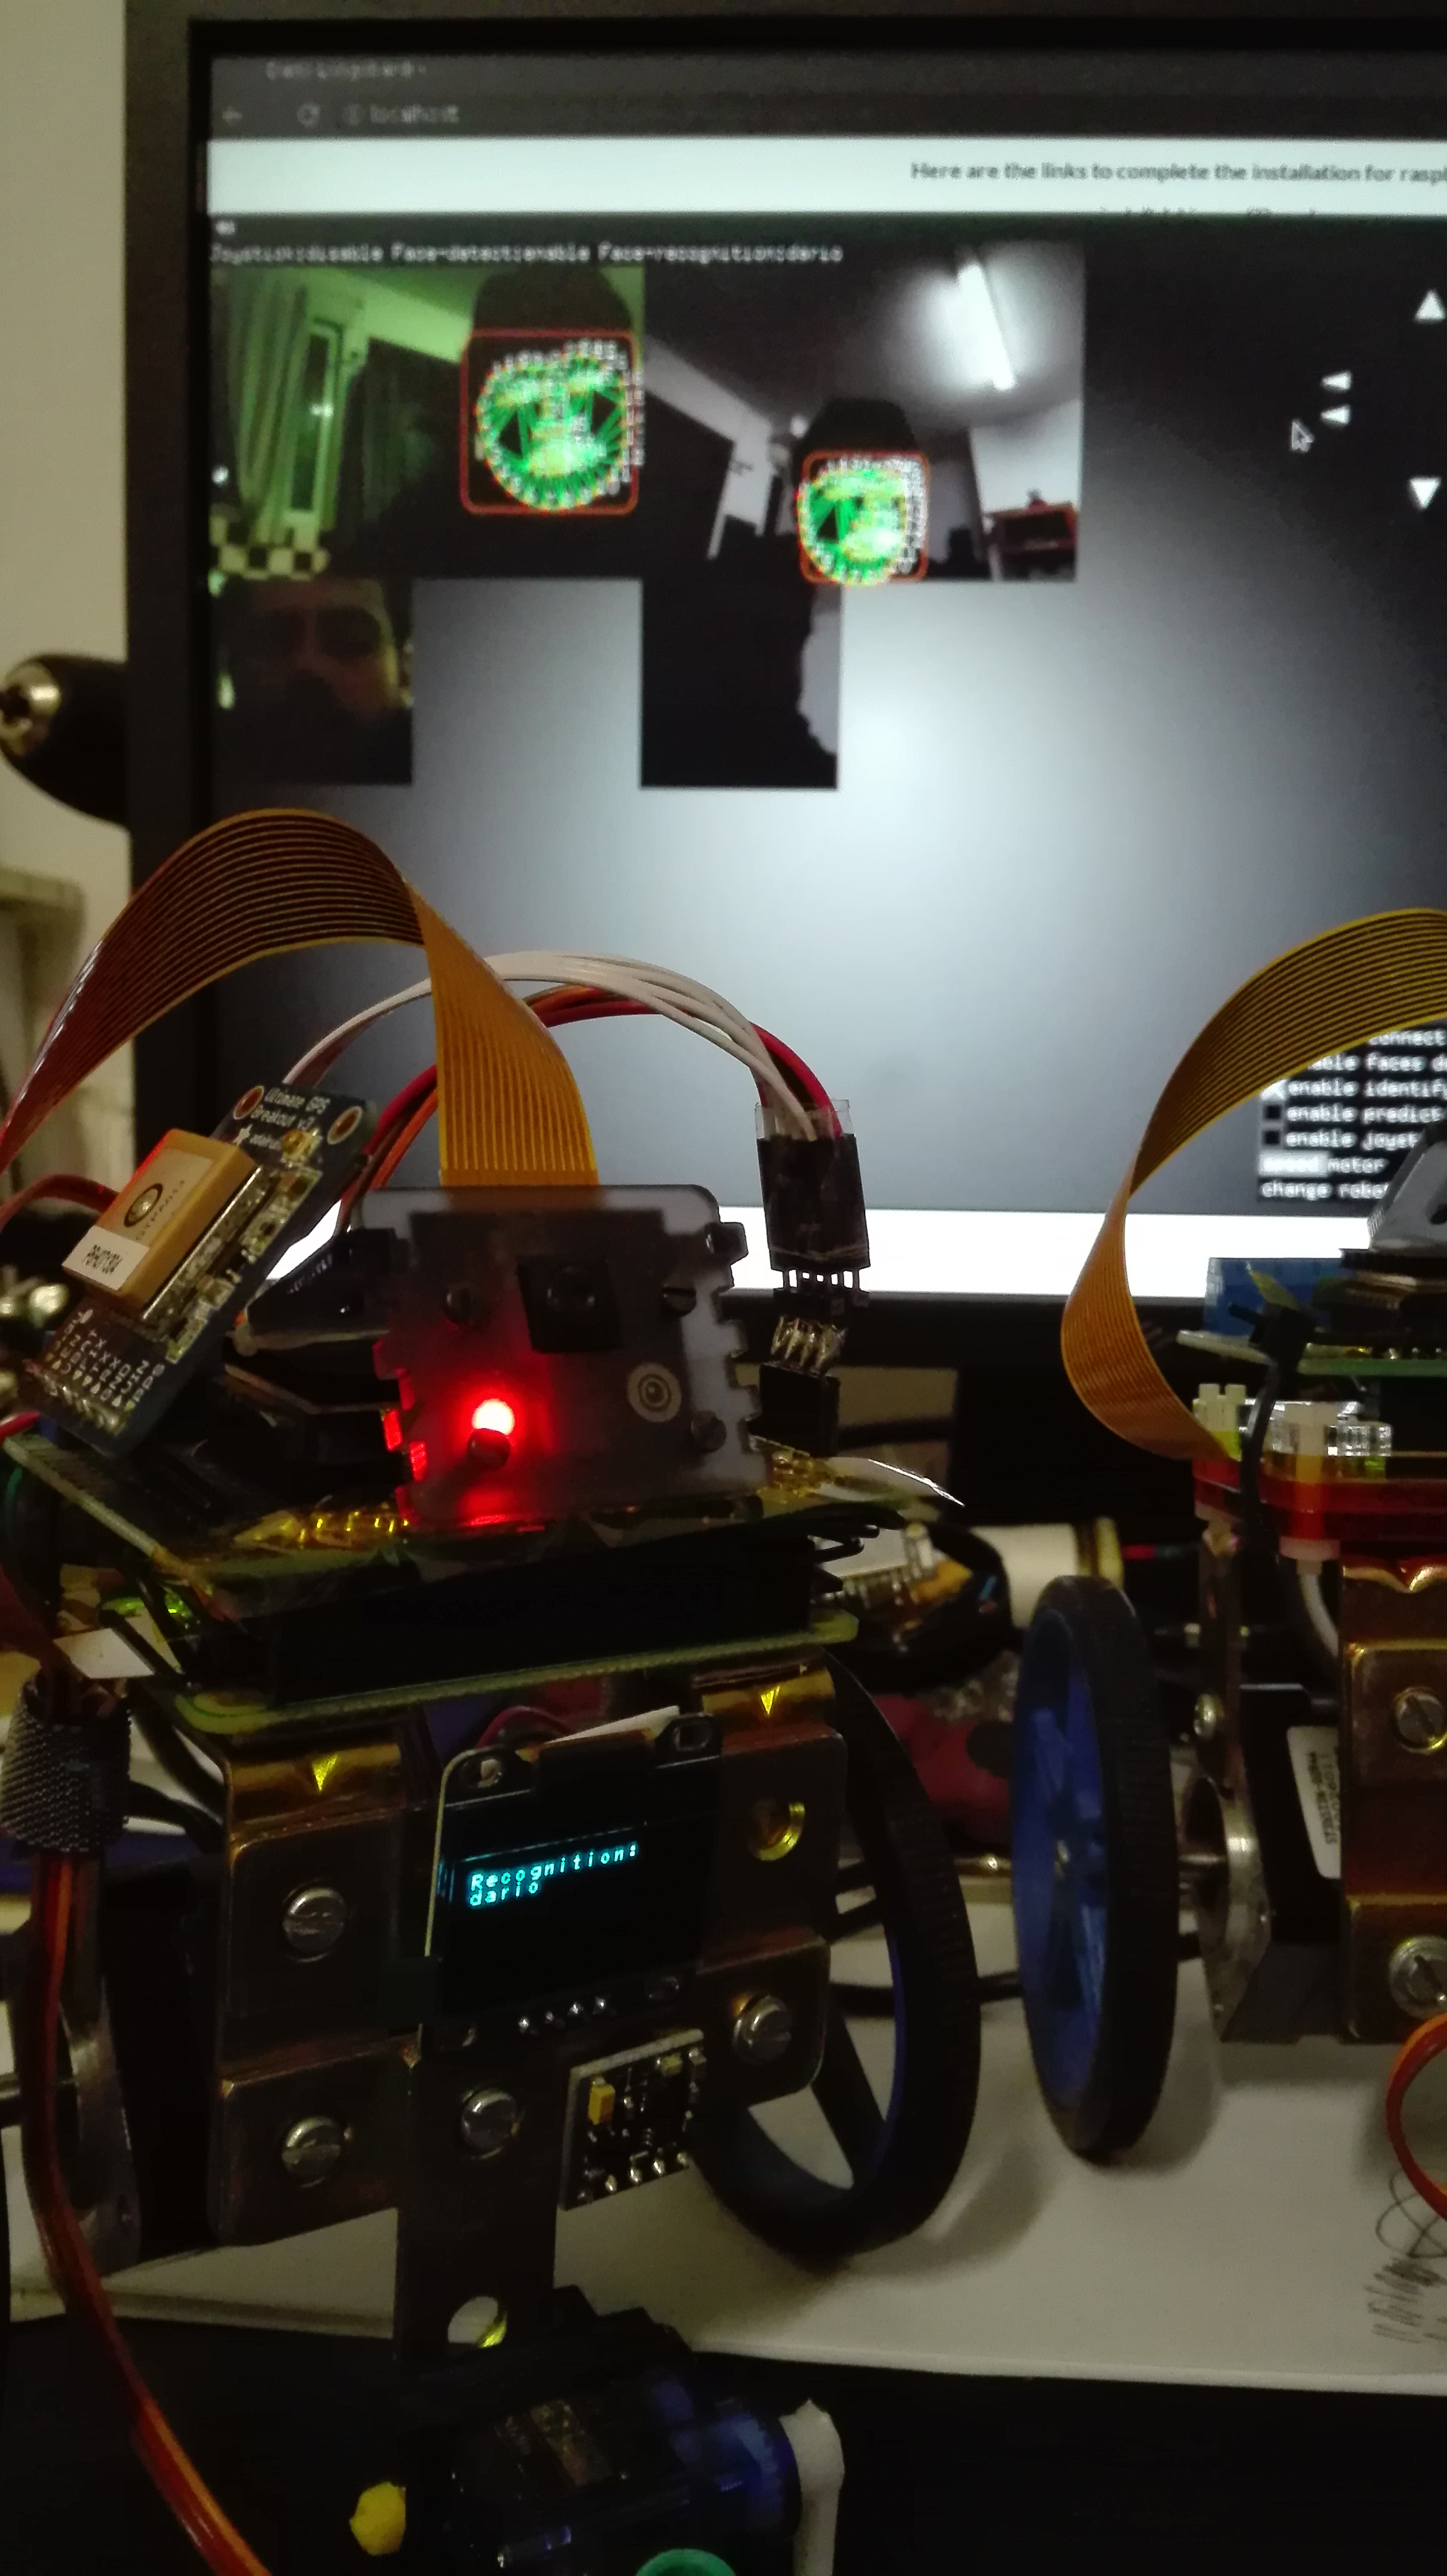
while the folder: controller and the program to control the remote robot and acquire RTP stream for processing our machine learning algorithms, controller must be placed in the folder of your PC: pc/openframeworks/apps/myApps/
controller has these dependencies:
ofxDelaunay
ofxJoystick
download and put in folder: pc/openframeworks/addons/
while positioning: dlib in: pc/openframeworks/apps/myApps/controller/libs/
Start with the robots program, which is on the raspberry:
raspberrypi$ cd /home/pi/openframeworks/apps/myApps/robots/
raspberrypi$ make
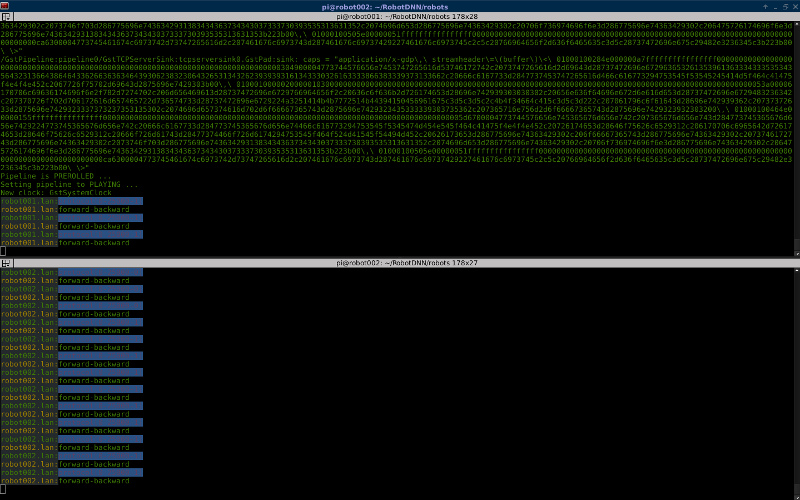
raspberrypi$ ./run 192.168.1.10 5555 11999 320 240 robot001
run is a small script that exec ./bin/robots
./bin/robots wants mandatory parameters: ./run ip-address/host-name gst-port motor-port gst-width gst-height name-robot
./run script also runs rtp server for streaming the camera module that will be acquired by "controller" on our PC,
moreover in bin/data/config_pi_motor.txt you can set the PINs to control our engines
laptop$ cd /home/laptop/openframeworks/apps/myApps/controller/
laptop$ make
laptop$ ./run "192.168.1.10,5555,11999,320,240" "robot002.lan,5555,11999,320,240" ...
run is a small script that exec ./bin/controller
./bin/controller accept more parameter block for control multiple robots:
./run "ip-address1/host-name1,gst-port1,motor-port1" "ip-address2/host-name2,gst-port2,motor-port2" etc...
Controller if used with joystick records the position of the robot at each movement, find it in: "bin/data/timestamp_data_log.dat" You can drag and drop this file inside the controller window to tell the robot to repeat the path.
The code is easily extensible, in the next article show the implemmentations of:
autonomous path planning
obstacles recognition
- Source:Github